


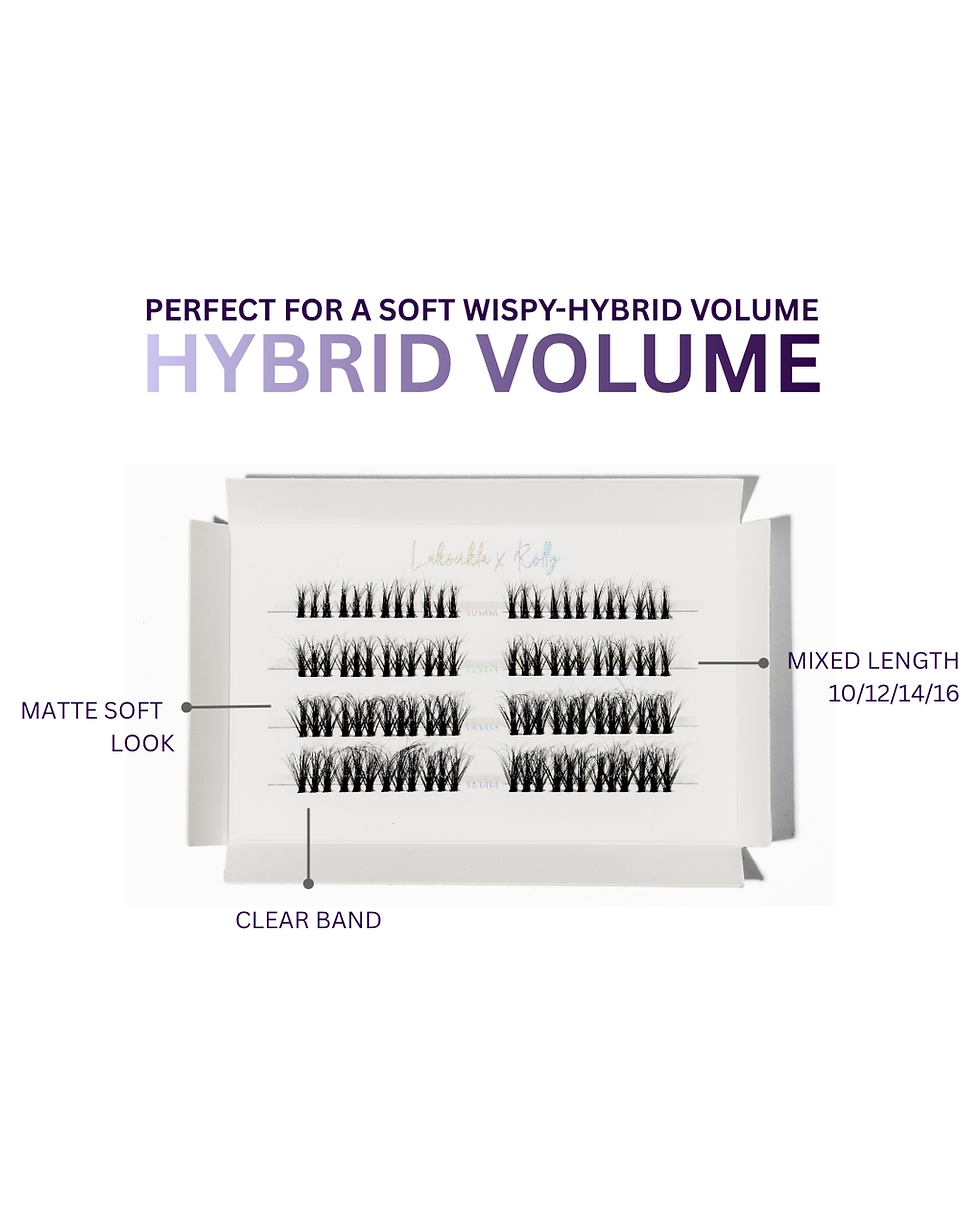
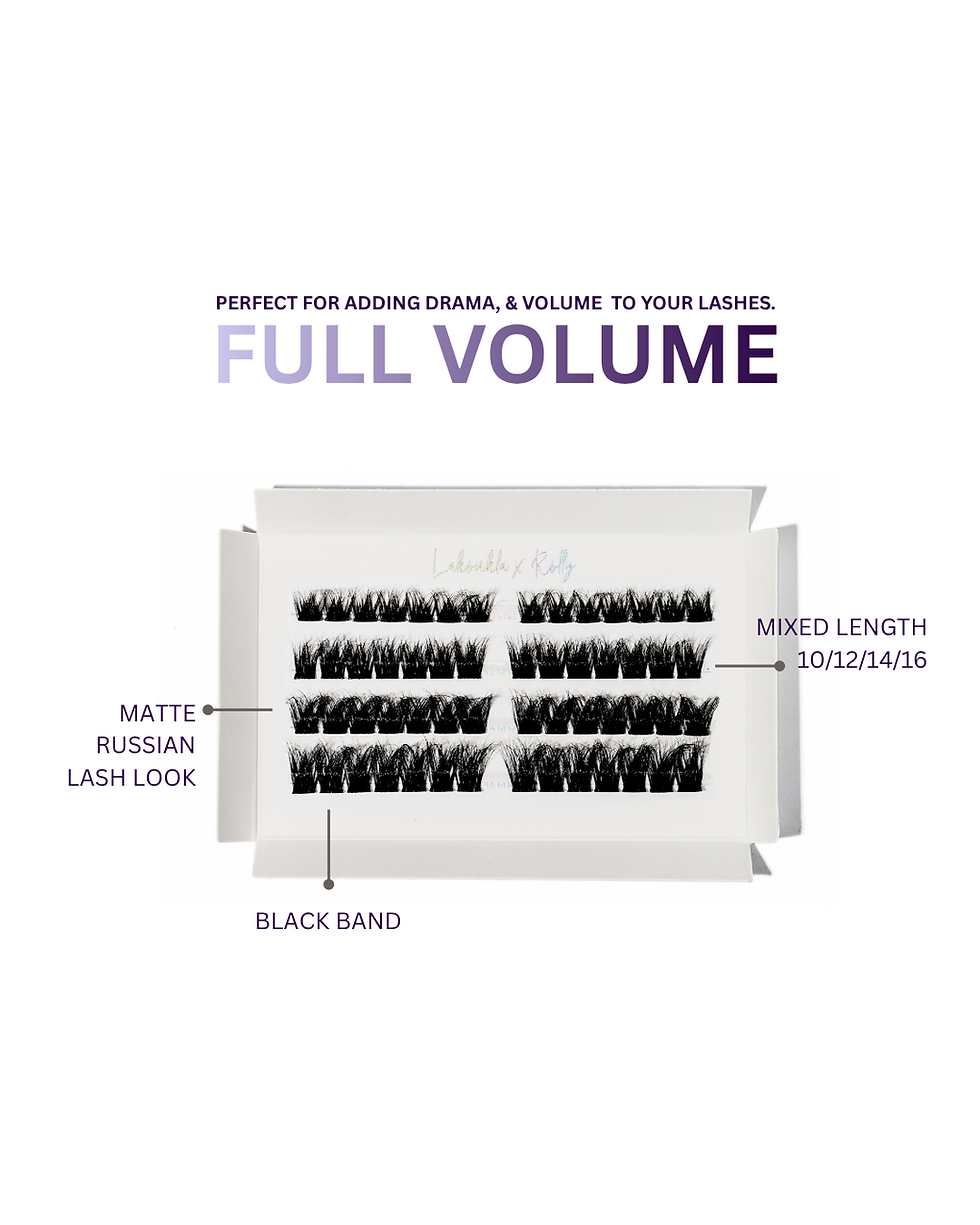
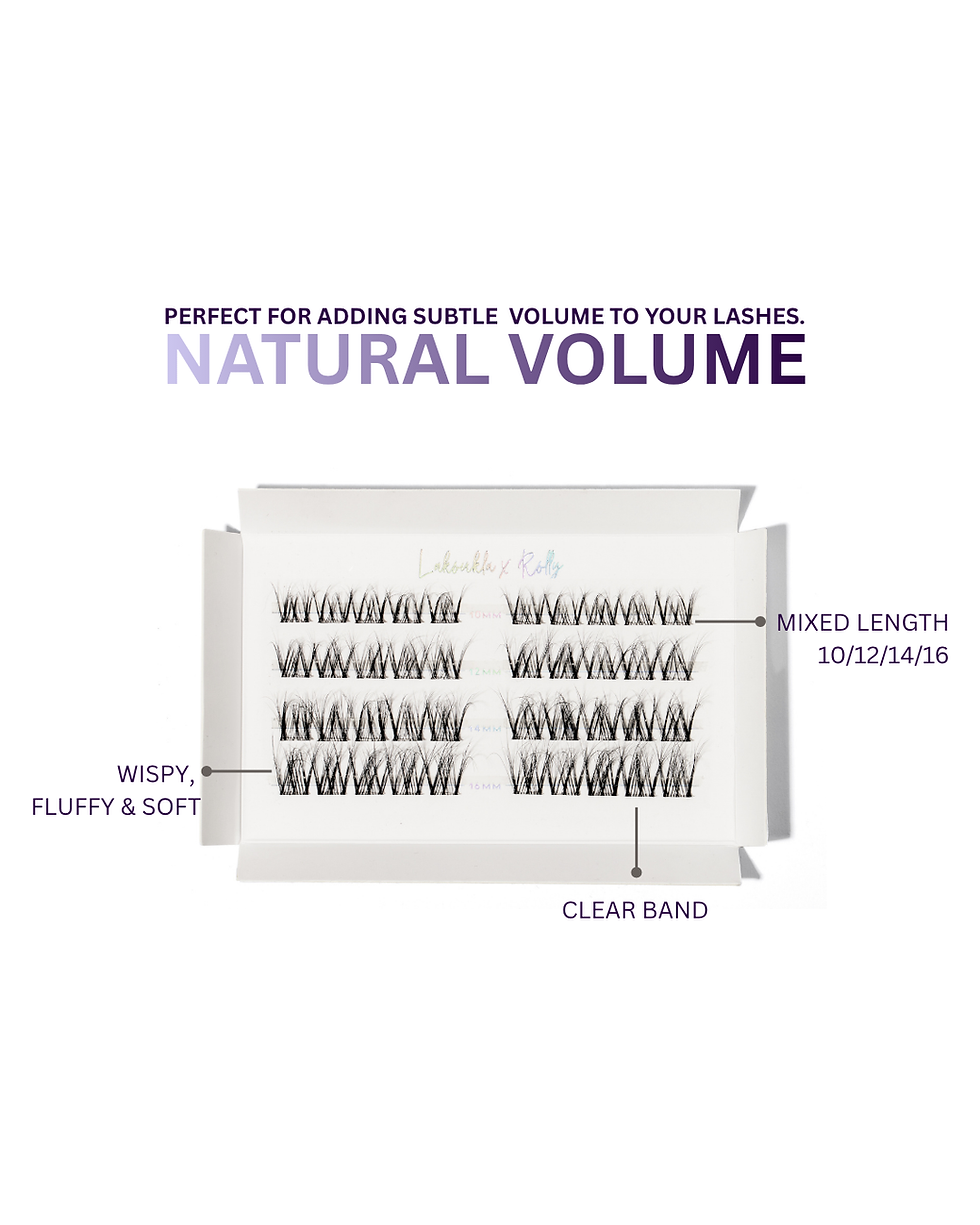
Build your perfect lash look with Signature Volume — ultra-soft, lightweight individual clusters in a full range of lengths from 8mm to 18mm. Each pack includes 120 reusable clusters designed to blend seamlessly into your natural lash line, so you can create a natural, hybrid, or full-volume finish exactly how you like it.
Signature Volume – Individual Lash Clusters (8-18mm)
With Lash Adhesive
Using your tweezers, gently lift your chosen cluster from the tray. Hold the tweezer slightly above the root (around 1mm) to avoid damage.
Dip the base into a small amount of lash glue, then leave it for 30–40 seconds until the adhesive becomes tacky.
Position the cluster where you want it along your lash line, then press it into place with your tweezers.
Repeat the process, building your look until you reach your desired fullness.
With Bond & Seal Adhesive
Before You Start
Make sure your natural lashes are clean, dry, and free from makeup or oils.
Patch Test (Recommended)
Apply a tiny amount of the Bond to a few outer corner lashes and leave for 24 hours. If irritation occurs, avoid using the product.
Step 1 — Apply the Bond
Brush a light coat of Bond onto your natural lashes, focusing on the area where the cluster base will sit.
For more dramatic or thicker clusters, bring the Bond slightly higher up the natural lash for extra grip.
You do not need to coat the entire lash.
Avoid mascara before bonding for a cleaner, more seamless finish.
Allow the Bond to go tacky for 30 seconds before applying clusters.
Tip: Work in small sections (outer to inner corner, or vice versa). This keeps the Bond tacky and makes application smoother.
If lashes feel too sticky, you may have used too much Bond — one thin coat is enough.
Step 2 — Prepare the Clusters
Loosen the cluster gently with your fingers, gripping as close to the root as possible. Carefully lift it from the tray to avoid damaging the fibres.
Step 3 — Apply the Clusters
Using your lash applicator:
Hold the cluster from the end, not the base.
Place it underneath your natural lashes, pushing the base upward until it meets your lash line.
Use a gentle “up and out” motion to secure it.
Make sure your applicator is free of adhesive glue on the tool can cause sticking. Wipe between applications if needed.
Choose a tweezer shape that you feel most confident using for precision.
After completing one eye, move on to the next steps.
Step 4 — Seal the Lashes
Dab the Seal onto the top and bottom of your lash line where the Bond was applied.
Do not brush through your lashes a light dabbing motion is best.
The Seal removes stickiness and locks the clusters in place.
Avoid coating the entire lash cluster, as this can cause stiffness or clumping.
Let the Seal set for 5 minutes. Repeat if any tackiness remains.
Step 5 — Clamp for Long-Lasting Hold
Once your clusters are set, use a clean curved applicator to gently clamp the lashes together. Focus the pressure at the base, where the Bond meets your natural lashes. This helps secure them for longer wear similar to a salon lash extension finish.
Wipe the applicator beforehand to ensure no adhesive is transferred.
Aftercare
Keep your lashes away from water, steam, and heat for the first 24 hours to allow the Bond to fully cure just like professional lash extensions.








)